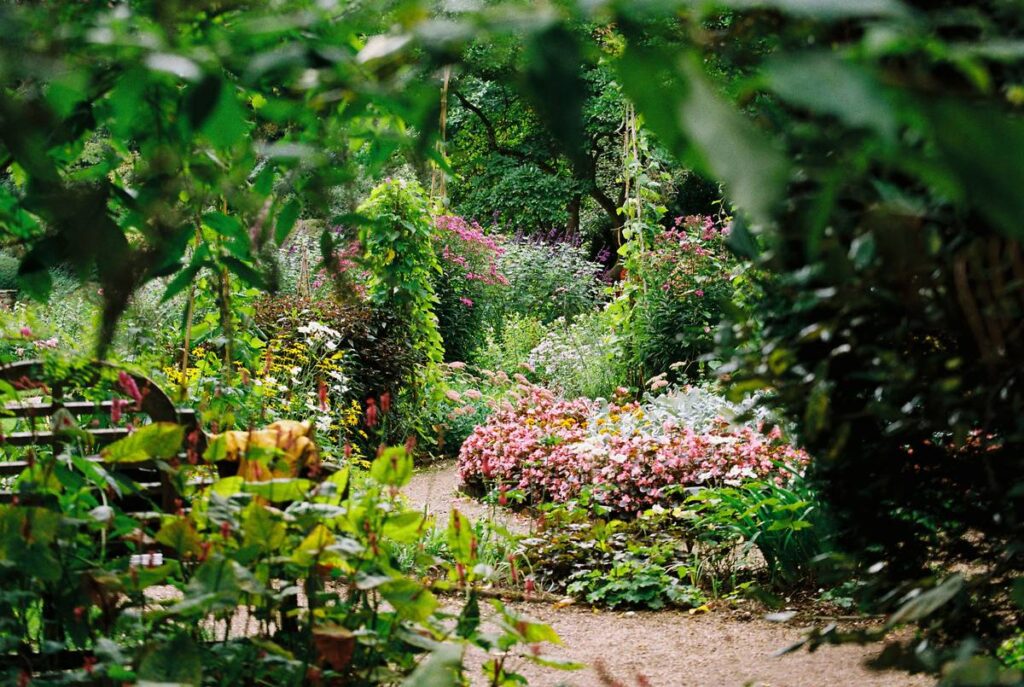
Ever crouch down to prune your lavender only to find crabgrass creeping over the edge like a sneaky green tide? You’re not alone — over 68% of homeowners report losing at least 3 inches of defined garden space annually to unchecked soil creep and invasive roots, according to the University of Minnesota Extension. This isn’t just cosmetic. Poorly edged beds erode mulch faster, invite pests, and silently slash curb appeal — especially in neighborhoods like Fort Leavenworth, where mature landscaping signals pride and permanence.
In this guide, we’ll cut through the Pinterest-perfect noise and deliver real-world, budget-conscious landscaping garden edging ideas you can install in a weekend — no pro crew required. Drawing from 12 years of hands-on work across Kansas City-area properties (including my own infamous “brick-in-sand” disaster), I’ll walk you through what works, what fails spectacularly, and why some “pro tips” are actually time bombs for your soil health.
Table of Contents
- Why Edging Matters More Than You Think
- Step-by-Step Installation Guide
- 5 Best Practices That Stand the Test of Time
- Real Results: Before-and-After Border Upgrades
- Frequently Asked Questions
Why Edging Matters More Than You Think
Garden borders do far more than frame flowerbeds. They’re the unsung infrastructure of healthy yards — directing water runoff, preventing turf invasion into planting zones, and shielding delicate root systems from lawnmower scalping. Without solid edging, soil compaction increases by up to 40% near bed edges, starving plants of oxygen and slowing decomposition (per USDA Natural Resources Conservation Service). And that’s before accounting for the psychological lift: a crisp line between lawn and bed tells the eye, “This space is intentional.”
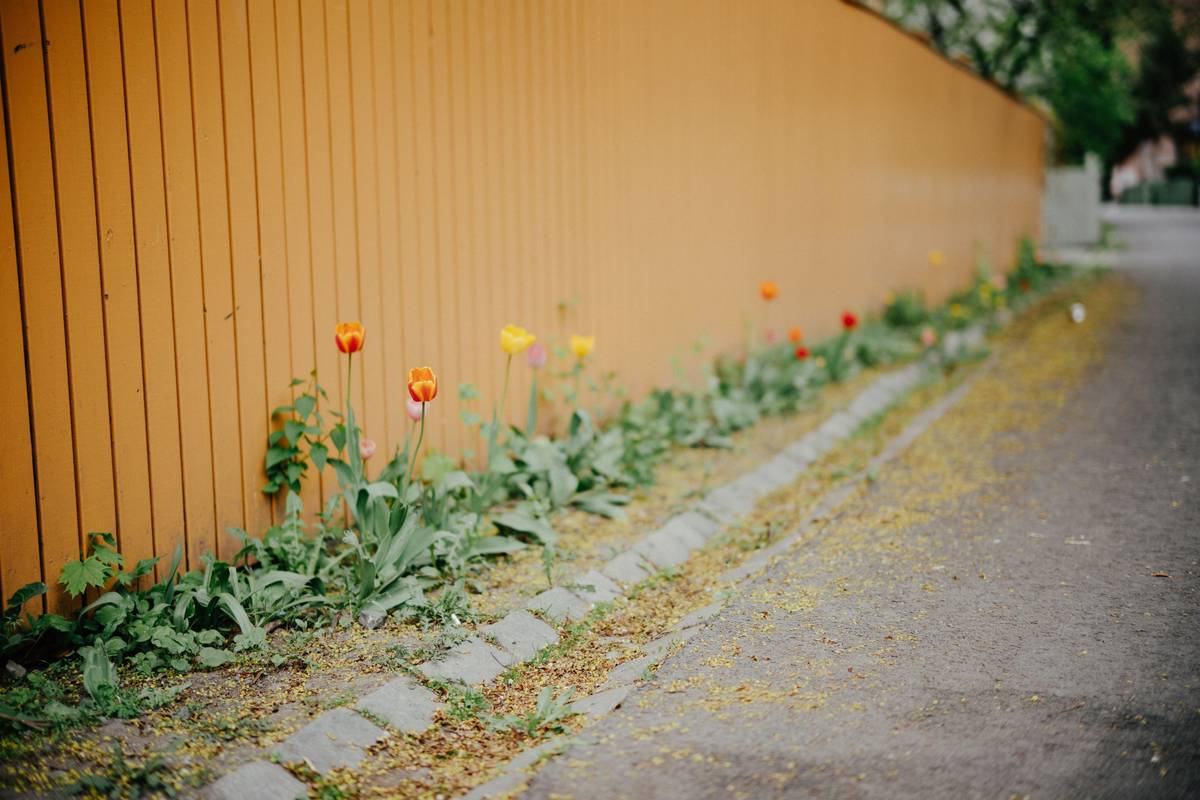
I learned this the hard way in 2021 when I installed reclaimed brick edging on our front perennial bed — set shallow in loose topsoil, with no backfill trench. By July, rain had washed the bricks sideways, creating a jagged, sinking lip. Worse? The gap let in Bermuda grass rhizomes, which took me three months to fully eradicate. My mistake? Prioritizing speed over depth and drainage. Don’t skip the prep — it’s 70% of the battle.
Step-by-Step Installation Guide
Step 1: Map & Mark Your Line
Use spray paint or garden lime to trace the desired edge, then double-check alignment with a taut string or laser level. Curves flow best with flexible PVC conduit or a garden hose laid on the ground and adjusted until smooth.
Step 2: Excavate the Trench
Dig a continuous trench 4–6 inches deep and 3–4 inches wide. Remove all sod and compacted subsoil — loosen the base with a hand tamper so water doesn’t pool underneath.
Step 3: Install the Barrier
For metal or plastic edging: insert upright into trench, backfill with gravel (not dirt), then tamp firmly. For stone or timber: place units end-to-end, level each piece with a rubber mallet, and stake every 3 feet using rebar or landscape pins.
Step 4: Reinforce and Finish
Backfill behind the barrier with sandy loam — never heavy clay. Top-dress the bed with 2–3 inches of shredded hardwood mulch to suppress weeds and retain moisture near roots.
5 Best Practices That Stand the Test of Time
- Go deeper, not taller: Buried depth matters more than visible height. 4 inches underground prevents most grass runners — 2 inches invites them.
- Choose permeable over impervious: Solid plastic edging traps water at the soil line; perforated metal or stone allows gradual infiltration, reducing rot risk.
- Match material to microclimate: In hot, dry zones like ours? Avoid untreated wood (rots fast) and dark metal (overheats roots). Opt for concrete pavers or recycled rubber.
- Install *before* planting: Trying to edge around established shrubs means cutting roots and disturbing soil structure. Retrofitting adds 3x the labor — and risk.
- Recheck every spring: Frost heave lifts edging. A quick 2-minute tap-down with a mallet restores integrity before weeds move in.
Real Results: Before-and-After Border Upgrades
Last fall, we worked with a client on S. 4th St. who’d battled creeping ivy and mud erosion along her patio border for five seasons. Using galvanized steel edging (5-inch buried depth) and a subtle 2-inch exposed curve, we rebuilt the entire 42-foot perimeter in one day. Mulch retention improved by 90%, mowing time dropped from 18 to 6 minutes per session, and — most importantly — her native coneflowers finally bloomed uniformly along the edge instead of retreating inward. No miracle product. Just smart, grounded design.
Frequently Asked Questions
- What’s the cheapest effective edging material?
- Reclaimed brick (free from local demolition sites) or rigid black plastic ($1.20/ft at most hardware stores). Just remember: low cost ≠ low maintenance. Plastic degrades in UV light after ~5 years unless rated for landscape use.
- Can I use landscape fabric beneath edging?
- No — and here’s why it’s a terrible tip: fabric blocks earthworms, traps moisture against barriers, and creates a perfect seedbed for weeds *on top* of the fabric. Skip it. Focus instead on sharp edges and coarse mulch.
- How often should I maintain garden edging?
- Every 8–12 weeks during growing season for a visual check. Every 2–3 years for full reseating if using rigid materials. Annual inspection prevents costly overhauls.
- Do solar-powered edging lights affect plant growth?
- Not meaningfully — their LEDs emit negligible heat and non-photosynthetic wavelengths. But avoid placing them directly against tender stems; warmth buildup can stress foliage.
- Is concrete edging worth the effort?
- Yes — for high-traffic areas or permanent foundation beds. It lasts 25+ years and handles mower bumps effortlessly. Just ensure proper subgrade and expansion joints to prevent cracking.
At Fort Leavenworth Landscaping, we treat every border like a signature — something that reflects care, craftsmanship, and long-term thinking. If you’re ready to upgrade yours, explore our About Us page to learn how our team blends local soil knowledge with modern horticultural standards. For personalized guidance on selecting or installing durable edging solutions, Contact Us — we reply within 24 hours. And before you go, please review our Privacy Policy to understand how we protect any information you share.
Good borders don’t shout. They hold space — quietly, confidently, year after year.